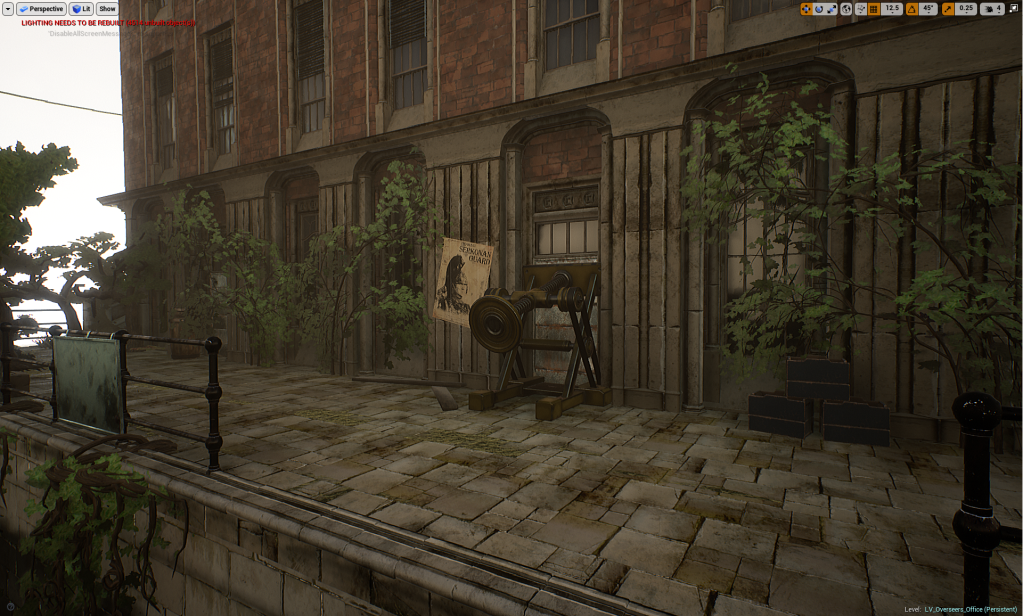
The last week and a half has currently consisted of purely polishing the level as well as finishing off the actual playable area and blocking off the areas outside the level.
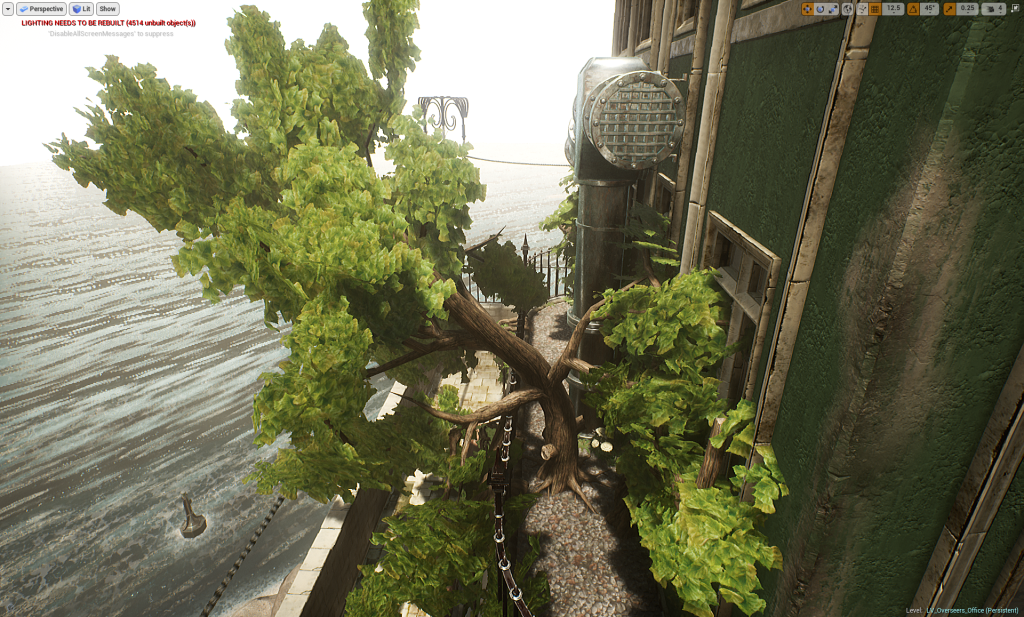
To help further the idea that the player is inside a world larger than themselves I created a bunch of foliage assets like trees & ivy to make it feel more lived in, as well as adding in a landscape to represent the sand to mold the sea area and provide build-up of sand deposits where it makes sense.
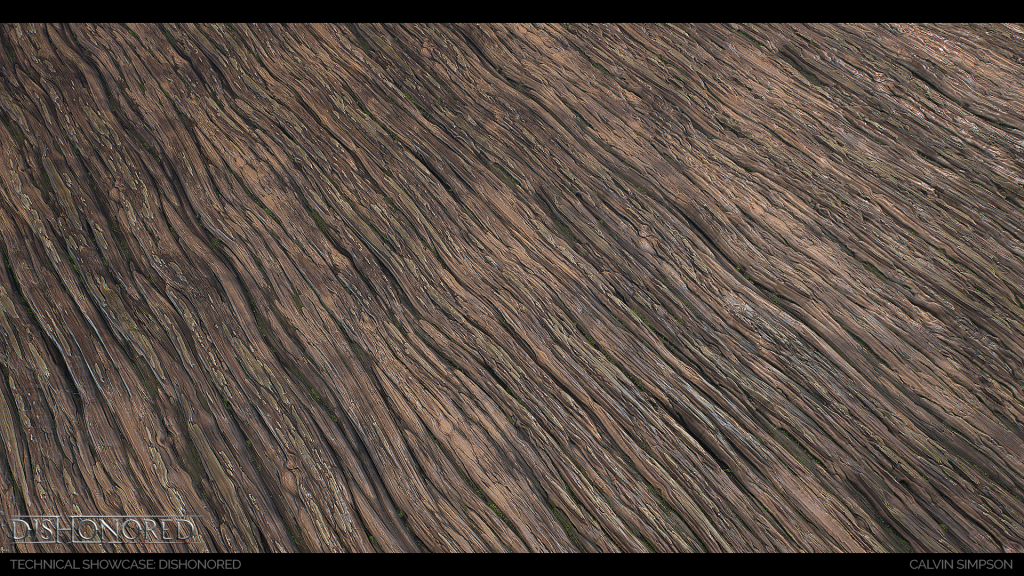
Sand Material & Landscape Shader
“It’s coarse and rough and irritating and it gets everywhere”.
On the serious side of things creating the sand and landscape shader was a long process, though due to the player being unable to see much underwater I didn’t bother with variation textures. To break up the surface below the waterline I just used rocks.


To start with I first developed the sand textures in Substance Designer by starting with perlin noise which I manipulated with a serious of warps, directional blurs, slope blurs, and custom pixel processing in order to build the height map which drives the rest of the substance.
The pixel processor and slope blur (with negative values) was the main driving factors to this material. Big thanks to Bruce Slater for leading me to the function 1-(abs(sin(in)) which was originally something I explored for a more optimised water simulation (though only is useful in scalar displacement as opposed to vector displacement which gerstner provides).
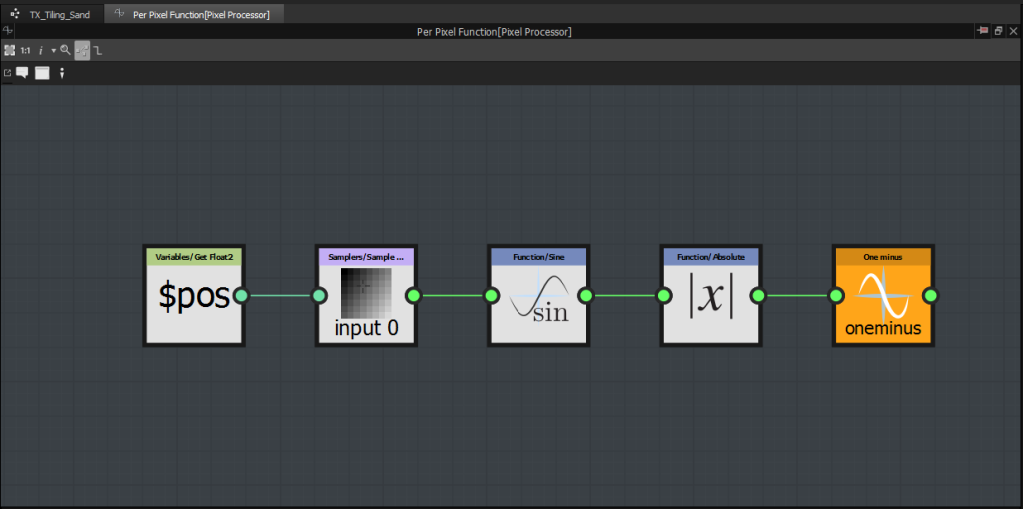
This function essentially provides waves with sharp peaks and soft valleys which was useful here, and then by using slope blur with the input as the intensity you can bulge the map or pinch with negative values.
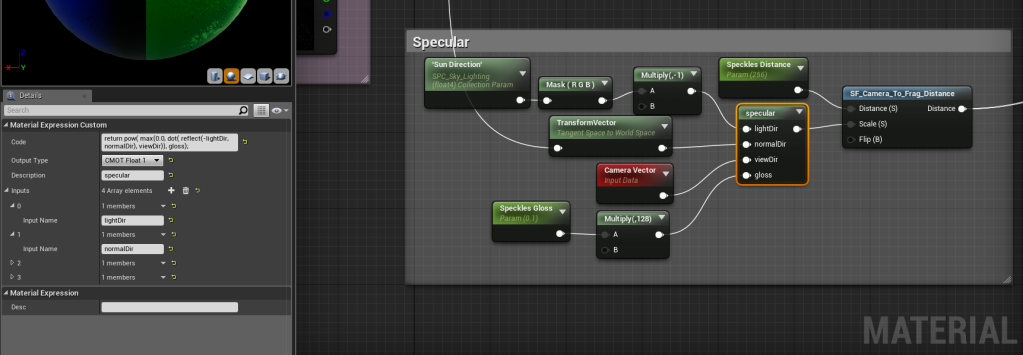
The shader for the sand material uses the master base shader function but with added features such as parallax occlusion mapping, dynamic distance field flow mapping, & a secondary specular calculation (to add the speckles).


The secondary specular is simply a tiled noise map multiplied by directional specularity. The calculation for that is written in HLSL to gain access to the reflect() HLSL function. It should be noted this calculation is not physically accurate and is limited to the directional light due to the nature of the deferred renderer, if I wanted to make this physically accurate I would have to compile a custom engine build to inject my own BRDF which isn’t worth it for a small effect which can be faked in.
The flow map side of things works the same as the water shader (I have modularised into its own shader function in fact) by using distance mesh fields to find the XY gradient between surfaces and distort the coordinates using this. This is useful to make the sand feel more natural as it would gather and be pushed around surfaces.
I considered adding in flow map painting to distort the sand with custom painting, though I didn’t feel as though it was worth the time to implement.
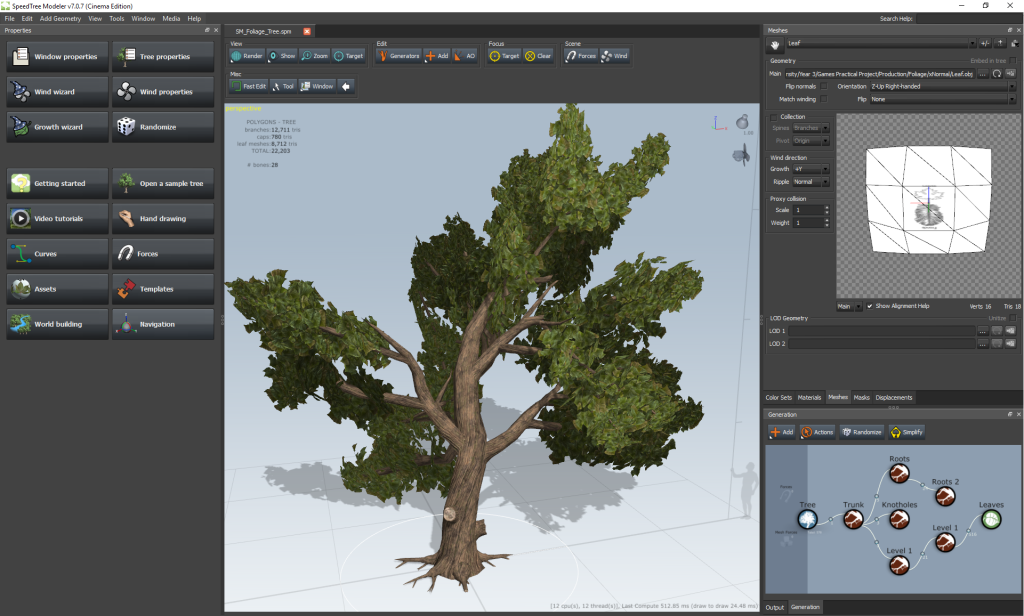
Foliage
Foliage always helps to push a scene in terms of art, but here it not only helps to fill out the space but make the world feel more natural and lived in.
To create the foliage I first created the textures I needed – I started this by first updating the leaves from the procedural texture I initially created to one generated through a bitmap. This gave me a much more accurate albedo at the expense of a poorer normal – though in this case I don’t think it matters too much.

To clean and edit the bitmaps I used Substance Designer which massively sped up the process, and also has nodes for cleaning up scan data (which this technically is in a sense). For example I generated ambient occlusion and removed this from the albedo.
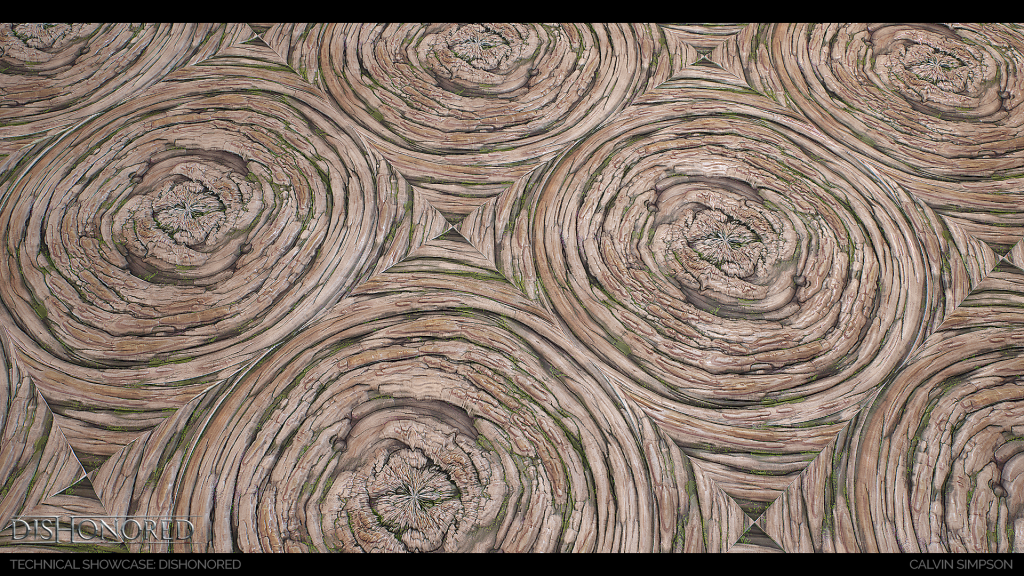
I used Substance Designer to create the bark as well, though I wanted to gain a nice mix between stylisation and realism with a focus on the larger forms instead of the tertiary detail so I opted for a procedural workflow here. I used reference from both the game, and actual scan data I processed prior to this project (only as a point of reference though, you can visit my shameless photogrammetry plug here – https://www.artstation.com/artwork/zR9D6). I also referred to this guide to help me get started with the larger forms – https://www.artstation.com/artwork/AgJ1V.
This bark Substance helped me to create the bark ends (the caps left where branches are pruned by SpeedTree) by converting from Carteasian to Polar space and working from there. It should be noted this texture was not intended to tile as opposed to the bark.
With these textures in place I then just used SpeedTree to quickly generate the spines I needed with my materials set up. This is an extremely powerful workflow I found as I can procedurally generate the foliage I need, as well as use forces to drive the generation (such as wrapping ivy along a wall).
Posters
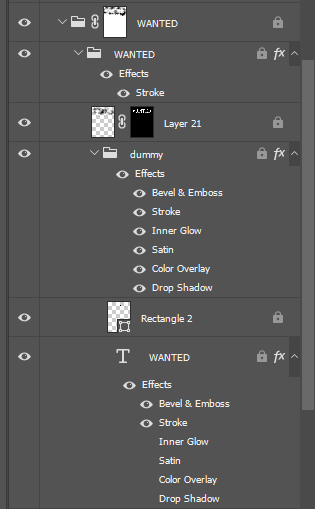
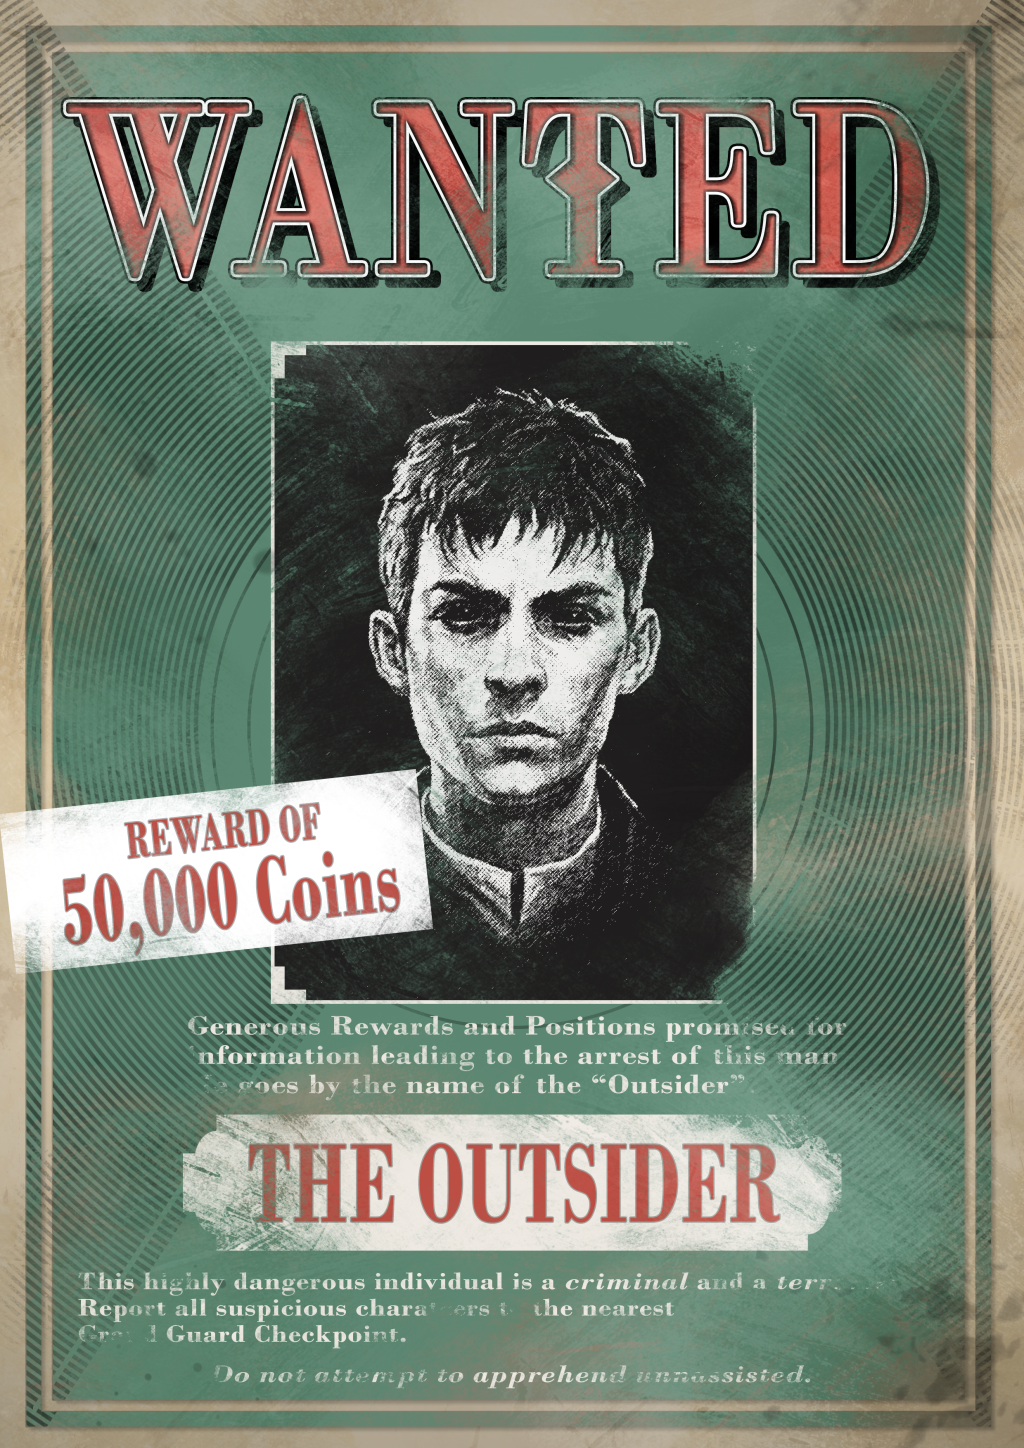
I also re-created some posters from Dishonored 2 & Death of the Outsider with some slight changes. I did this from scratch in Photoshop using references by overlaying images and painting in areas, though I made good use of smart objects, layers, grouping, and FX layers to keep things as non-destructive as possible! In places I even layered up FX adjustments using groups which was useful for complex fonts etc.
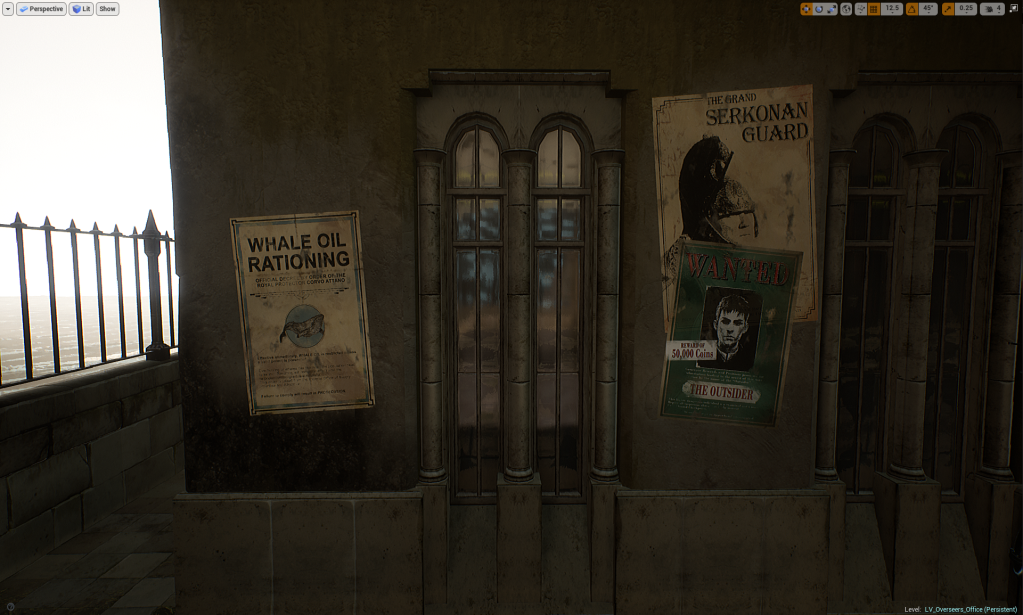
These were very useful to add narrative and help further the idea that the world exists both around the player and as a result of the player’s actions to give a sense of player agency. For example the wanted posters are referring to “The Outsider” which is the player.
Where Now?
As of writing this post there is just over a week until the project hand-in. Everything is all set up and ready to go. At this point everything can be handed in and I would happy with it too, though I will continue to polish up the areas & adding small things I think will benefit the project.
I also need to do a final lighting bake though I will wait until I’m 100% happy with the improvements before I do this.
